The Old Singer Sewing Machine Instruction Manual is an essential guide for restoring and operating vintage models. It provides detailed instructions, diagrams, and troubleshooting tips. Available as free PDF downloads from various sources, including official Singer websites and third-party libraries, this manual ensures seamless operation of your antique sewing machine.
1.1 Importance of the Instruction Manual
The instruction manual is crucial for understanding and maintaining your old Singer sewing machine. It provides detailed guidance on setup, operation, and troubleshooting, ensuring optimal performance. The manual covers essential maintenance tips, like cleaning and lubricating, and offers solutions for common issues such as thread breakage or uneven stitching. Whether you’re a novice or experienced user, the manual is indispensable for maximizing your machine’s potential and extending its lifespan.
1.2 Brief History of Singer Sewing Machines
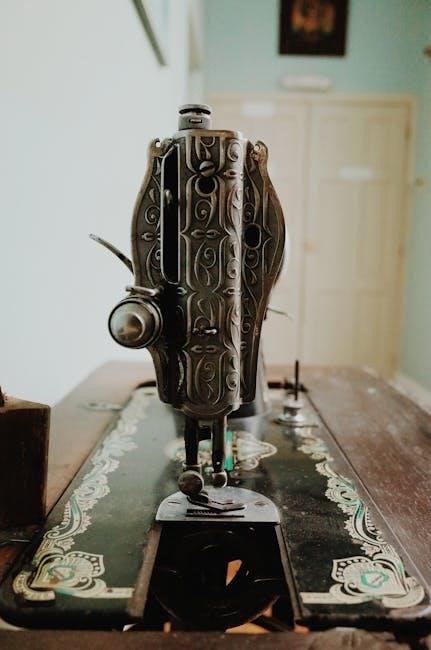
Singer Sewing Machines, founded in 1851 by Isaac Singer, revolutionized sewing with the first practical machine. Over decades, models like the 15-96, 15-98, and 1950s Class 99 became iconic. The 1930s Featherweight models are still prized by collectors. Manuals for these vintage machines are readily available, preserving the company’s legacy and enabling users to maintain and operate their devices effectively.

Understanding the Structure of the Manual
The manual includes a table of contents, key sections, and visual guides. Detailed diagrams explain setup, operation, and maintenance, ensuring compatibility with various Singer models.
2.1 Table of Contents and Key Sections
The manual begins with a detailed table of contents, outlining sections like machine setup, operation, and troubleshooting. Key sections include parts lists, threading guides, and maintenance tips. Visual diagrams and step-by-step instructions are provided for clarity. The manual covers various Singer models, ensuring compatibility and comprehensive guidance for both new and experienced users. It serves as a one-stop resource for optimal machine performance and longevity.
2.2 Visual Guides and Diagrams
The manual includes detailed visual guides and diagrams to help users understand complex procedures. High-resolution illustrations of machine parts, threading processes, and stitch patterns are provided. These visuals aid in troubleshooting and assembly, ensuring clarity for both novice and experienced sewists. The diagrams are particularly useful for vintage models, offering step-by-step guidance for optimal performance. They are available in PDF format, allowing users to zoom in for precise details.
Setting Up Your Old Singer Sewing Machine
Setting up your vintage Singer sewing machine involves unpacking, inspecting, and assembling components. The manual provides clear steps for proper assembly and adjustments to ensure optimal performance.
3.1 Unpacking and Initial Inspection
When unpacking your old Singer sewing machine, carefully remove it from the packaging and inspect for any damage or wear. Ensure all components are included as listed in the manual. Gently clean the machine to remove dust or debris. Check the treadle, hand wheel, and bobbin areas for proper alignment. This step ensures your machine is in working condition before use, following the manual’s guidance for a smooth setup process.
3.2 Assembling the Machine (if required)
Begin by verifying all parts and hardware are included in the package. Follow the manual’s step-by-step instructions for assembling the machine, ensuring each component is securely attached. Use the provided diagrams to align parts correctly, such as the treadle or motor. Tighten all screws and bolts firmly, but avoid over-tightening. Double-check the needle bar and bobbin case installation for proper alignment. Once assembled, test the machine at a slow speed to ensure smooth operation.
3.3 Adjusting the Machine for Optimal Performance
Start by cleaning and lubricating all moving parts to ensure smooth operation. Adjust the bobbin case and tension discs according to the manual’s guidelines. Check the needle alignment and ensure the presser foot is level. Test the machine by sewing a straight line on scrap fabric to verify even stitching and proper thread flow. Fine-tune the tension and stitch length as needed for consistent results.
Operating the Machine
Operating the machine involves turning it on, controlling speed, and guiding fabric smoothly. Perform straight stitching, backstitching, and monitor thread flow. Adjust tension as needed.
4.1 Threading the Machine
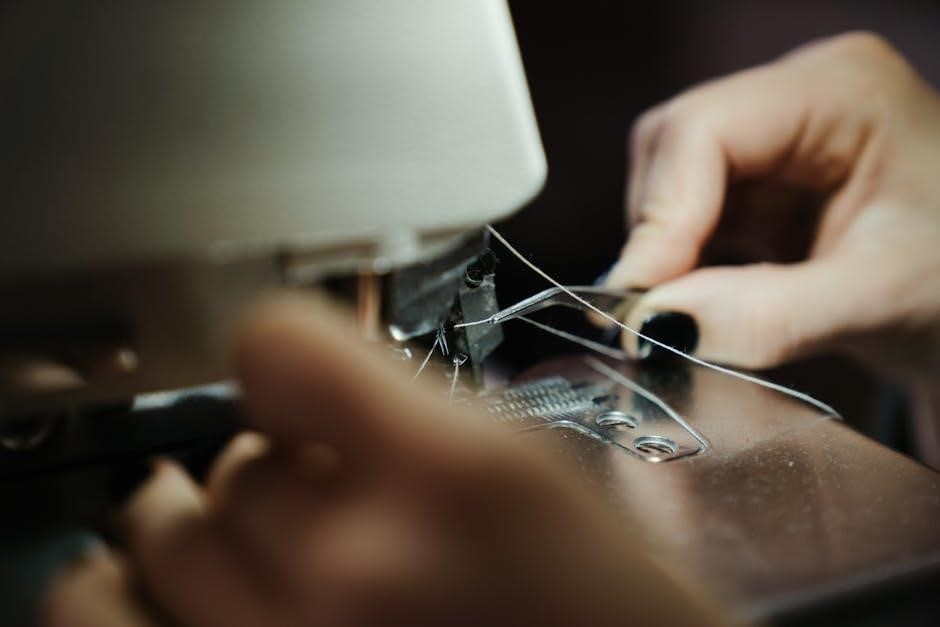
Threading the machine involves starting from the spool, following the thread guide, and passing through tension discs. Use the take-up lever to ensure proper thread flow. Always refer to the diagram for correct routing. Gently pull the thread to set tension and trim excess. Ensure the needle is threaded correctly to avoid stitching issues. Proper threading ensures smooth operation and prevents thread breakage during sewing.
4.2 Bobbin and Needle Setup
Proper bobbin and needle setup is crucial for smooth stitching. Wind the bobbin evenly, ensuring thread is tight but not overly taut. Insert the bobbin into the bobbin case, aligning it correctly. Attach the needle securely, ensuring it faces the correct direction. Use the appropriate needle type for your fabric. Proper tension ensures even stitching and prevents thread breakage. Always refer to the manual for specific guidance on your machine’s setup requirements.
4.3 Basic Stitching and Sewing Techniques
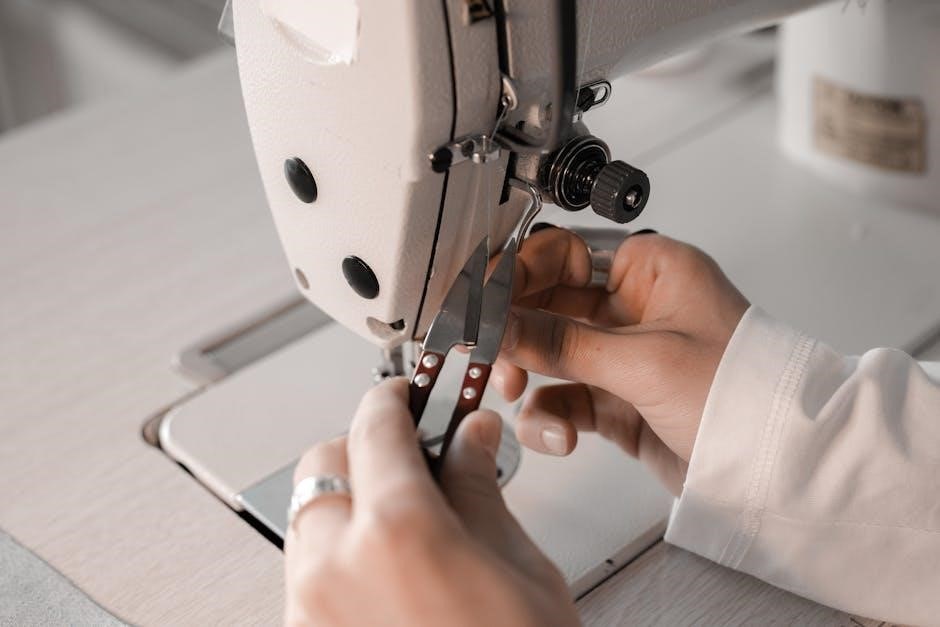
Start by practicing straight stitching, ensuring fabric moves smoothly under the needle. Backstitch at the beginning and end of seams for durability. Use the appropriate stitch length and width for your fabric type. For thicker materials, consider using a heavier-duty needle. Keep the machine well-threaded and the bobbin correctly positioned. Experiment with different stitches for decorative or functional purposes. Refer to the manual for specific techniques tailored to your machine’s capabilities.
Maintenance and Care
Regular maintenance ensures optimal performance. Clean lint and dust from ventilation openings, lubricate moving parts, and store the machine properly. Follow the manual’s guidelines.
5.1 Cleaning the Machine
Regular cleaning is crucial for maintaining your old Singer sewing machine. Use a soft brush to remove lint and dust from the bobbin area and tension discs. Avoid harsh chemicals; instead, dampen a cloth with water for wiping surfaces. Ensure all openings are clear to prevent damage. Clean after each use to keep the machine running smoothly and prolong its lifespan. Always unplug the machine before cleaning for safety.
5;2 Lubricating Moving Parts
Lubricating your old Singer sewing machine is essential for smooth operation. Use a few drops of high-quality sewing machine oil on moving parts like gears and hinges. Apply oil sparingly to avoid attracting dust. Regular lubrication prevents wear and ensures optimal performance. Refer to the manual for specific locations to oil. Avoid over-lubricating the bobbin area, as it can cause thread breakage. Wipe off any excess oil with a clean cloth to maintain the machine’s efficiency.
5.3 Storing the Machine Properly
Store your old Singer sewing machine in a dry, clean environment to preserve its condition. Use a hardcover case or breathable cover to protect it from dust. Avoid exposing the machine to moisture or extreme temperatures. Keep it upright to prevent oil from leaking into internal components. Before storing, ensure the machine is clean and free of lint. Regularly inspect stored machines to maintain their functionality and longevity.
Troubleshooting Common Issues
Identify common issues like jammed stitches or uneven tension. Consult the manual for solutions. Regular maintenance and proper threading often resolve most problems.
6.1 Jammed Stitches and Thread Breakage
Jammed stitches and thread breakage are common issues. Causes include lint buildup, improper threading, or incorrect tension. Clean the machine regularly, ensure proper thread alignment, and check for fabric scraps. Use the correct needle type and thread quality. If issues persist, consult the manual for detailed troubleshooting steps or lubricate moving parts to restore smooth operation.
6.2 Uneven Stitching and Tension Problems
Uneven stitching and tension issues often arise from incorrect bobbin or top thread tension. Check and adjust the tension dials as outlined in the manual. Ensure proper threading and use the correct needle size for your fabric. Clean the machine regularly to remove lint, which can disrupt stitch quality. If uneven stitching persists, consult the troubleshooting section for detailed guidance on recalibrating tension settings for consistent results.
6.3 Motor and Power Issues
Motor and power issues can hinder your sewing experience. Ensure the machine is properly plugged in and the power source is stable. Check for lint or debris in the motor area, as buildup can cause malfunction. Regular lubrication of moving parts, as outlined in the manual, is essential for smooth operation. If the motor is noisy or fails to start, consult the troubleshooting section or contact a professional for assistance to restore functionality.
Accessories and Attachments
This section explores various accessories and attachments for your old Singer sewing machine, including presser feet, buttonholers, and specialized stitching aids. It also covers compatibility with modern attachments, ensuring versatility for diverse sewing projects.
7.1 Available Attachments for Old Models
Old Singer sewing machines offer a variety of attachments tailored for specific tasks. Buttonholers, rufflers, and presser feet are popular additions, enhancing stitching versatility. Many models, such as the 27K and 28K, support these accessories. The manuals provide detailed guidance on attachment installation and usage, ensuring optimal performance for tasks like embroidery, quilting, and heavy-duty sewing. These attachments remain compatible with vintage machines, preserving their functionality and craftsmanship.
7.2 Using Presser Feet and Other Accessories
Presser feet are essential for enhancing stitching quality and fabric control; The Singer manual details various feet, such as zipper, buttonhole, and zigzag feet, each designed for specific tasks. To use them, attach the foot securely to the machine’s shank, ensuring proper alignment. Always refer to the manual for model-specific guidance. Accessories like rufflers and quilter’s guides expand stitching capabilities, while maintaining the machine’s original functionality and versatility for both decorative and practical sewing projects.
7.3 Compatibility of Modern Accessories
Old Singer sewing machines can often accommodate modern accessories with minimal adjustments. Adapters or universal fittings may be required to ensure compatibility. Always check the machine’s specifications or consult the manual before using new accessories. Many contemporary attachments, like specialized presser feet, are designed to fit older models, enhancing functionality. Ensure proper fitment to maintain performance and prevent damage to the machine or accessories. This adaptability keeps vintage Singer machines relevant for modern sewing needs.
Advanced Sewing Techniques
Explore advanced sewing techniques for your old Singer machine, including intricate embroidery, decorative stitching, and specialized fabric handling. These methods enhance creativity and precision in your projects.
8.1 Sewing Different Fabrics
Master sewing various fabrics with your old Singer machine. From delicate silk to heavy denim and leather, adjust tension and stitch length for optimal results. Use specialized feet for smooth operation.
8.2 Embroidery and Decorative Stitches
Enhance your sewing projects with embroidery and decorative stitches using your old Singer machine. Models like the 27W and 28K offer built-in decorative stitch patterns, perfect for fabric embellishments. Adjust the stitch length and width for intricate designs. Use the embroidery hoop attachment for precise, even stitching. These vintage machines allow for creative customization, making them versatile for both functional and artistic sewing projects across various fabric types.
8.3 Repairing and Altering Clothes
Old Singer sewing machines are ideal for repairing and altering clothes. Use basic stitching techniques to mend tears or adjust seams. The manual provides clear instructions for hemming, darning, and reinforcing fabric. With adjustable tension and stitch length, you can tailor clothes to fit perfectly. Whether it’s shortening hems or repairing buttons, these machines offer precision and reliability for all your clothing repair and alteration needs. Free PDF manuals further guide you through these processes.
Finding and Downloading the Manual
Locate and download the Old Singer Sewing Machine Manual from Singer’s official website, third-party libraries, or community forums. Manuals are available as free PDF downloads.
9.1 Official Singer Website Resources
The Singer official website offers a comprehensive library of downloadable instruction manuals for both new and old sewing machine models. Users can easily search for their specific model number, such as the 27W or 22W71, and access free PDF versions of the manuals. This resource is the most reliable and convenient way to obtain authentic guides, ensuring compatibility and accuracy for your vintage Singer sewing machine.
9.2 Third-Party Manual Libraries
Third-party manual libraries provide extensive collections of Singer sewing machine manuals, including vintage models. Websites like ManualsDir and ManualsLib offer free PDF downloads for models such as the Singer 15-96 and 15-98. These libraries are user-friendly, allowing searches by model number, and often include comprehensive guides for troubleshooting and maintenance. They are invaluable resources for owners seeking detailed instructions for older Singer machines, ensuring continued use and optimal performance.
9.3 Community Forums and User-Sharing Platforms
Community forums and user-sharing platforms are excellent sources for finding old Singer sewing machine instruction manuals. Websites like ManualsLib and ManualsDir host user-uploaded manuals, including rare models. Additionally, sewing enthusiast forums and social media groups often share PDFs and links, accompanied by discussions and tips from experienced users. These platforms provide a collaborative environment where users can access manuals and benefit from shared knowledge and troubleshooting advice.
The Old Singer Sewing Machine Instruction Manual provides comprehensive guidance, ensuring seamless operation and maintenance. With free PDF downloads available, it empowers users to restore and utilize their vintage machines effectively, fostering creativity and troubleshooting ease.
10.1 Final Tips for Using Your Old Singer Sewing Machine
Regularly clean and lubricate your machine to maintain smooth operation. Always refer to the manual for model-specific guidance. Use compatible accessories and presser feet for optimal results. Practice stitching on scrap fabric before sewing actual projects. Store the machine in a dry, dust-free environment when not in use. Explore online communities for troubleshooting and creative ideas to maximize your sewing experience with your vintage Singer machine.
10.2 Encouragement to Explore More Sewing Projects
Embrace your creativity and explore various sewing projects with your old Singer machine. From delicate fabrics to heavy-duty materials, experiment with different techniques to enhance your skills. Utilize free downloadable manuals and online communities for inspiration and guidance. Create handmade clothes, accessories, or home decor to personalize your space. Sewing is a timeless craft, and your vintage Singer machine is the perfect tool to bring your ideas to life.