Wella Powder Lightener Instructions: A Comprehensive Guide
This guide provides detailed instructions for using Wella Color Charm Powder Lightener, ensuring reliable and controlled lightening action for all your hair coloring needs.
Achieve up to 7 levels of lift with this versatile product, suitable for both on and off-scalp techniques, as highlighted by Sally Beauty’s product description.
Understanding Wella Color Charm Powder Lightener
Wella Color Charm Powder Lightener is a popular choice among both professional stylists and at-home color enthusiasts, renowned for its consistent performance and ability to deliver significant lift. This lightener, available at retailers like Sally Beauty, is specifically formulated to provide controlled lightening action, minimizing damage while maximizing brightening power.
It’s a versatile product, effective for a wide range of lightening techniques, including full-head bleaching, highlights, balayage, and color correction. The powder format allows for customizable mixing ratios with developers, giving users precise control over the lifting process. Understanding its capabilities is crucial for achieving desired results, and careful adherence to instructions is paramount for maintaining hair health.
The product’s reliability stems from Wella’s commitment to quality and innovation in hair color technology.
Key Features and Benefits
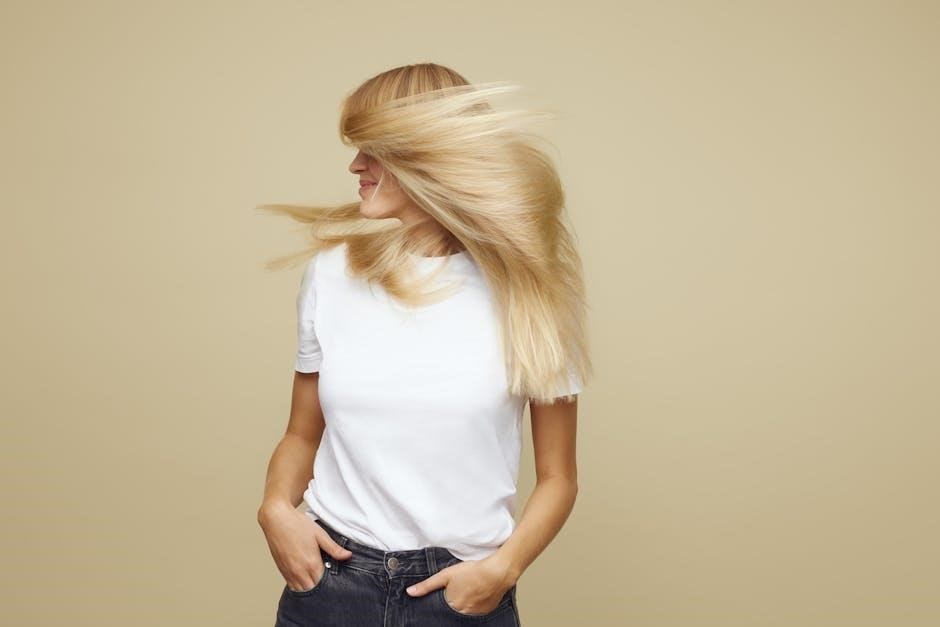
Wella Color Charm Powder Lightener boasts several key features that contribute to its widespread popularity. Primarily, it offers up to 7 levels of lift, effectively lightening hair from dark to light shades. This makes it suitable for a diverse range of hair colors and desired outcomes, as noted by Sally Beauty.
Its controlled lightening action minimizes the risk of unwanted brassiness or uneven results. The powder format allows for easy mixing and application, catering to both on-scalp and off-scalp techniques. Furthermore, the product is designed to be reliable and predictable, ensuring consistent results with each use.
Benefits include versatility, predictable lift, and minimized damage when used correctly, making it a favorite among professionals.
Levels of Lift Achievable
Wella Color Charm Powder Lightener is capable of lifting hair color through a spectrum of up to 7 levels. This means it can effectively lighten hair from dark brown or black to blonde shades, depending on the initial color and the developer volume used.
The achievable lift is influenced by several factors, including hair porosity, previous chemical treatments, and processing time. Sally Beauty highlights this 7-level lift as a core benefit. Lighter starting shades will naturally require less lift to reach the desired tone, while darker shades will necessitate a longer processing time and potentially multiple applications.
Understanding these variables is crucial for achieving optimal results and preventing damage. Careful consideration of these factors ensures predictable and satisfactory lightening.
Preparation for Lightening
Prior preparation is key for successful lightening! Always perform a strand test, select the correct developer, and gather tools for optimal, safe results.
Performing a Strand Test
A strand test is a crucial step before applying Wella Powder Lightener to your entire head. This simple process helps predict how your hair will react to the lightener, minimizing potential damage and ensuring desired results.
Select a small, inconspicuous section of hair – ideally from underneath. Mix a small amount of the Wella Powder Lightener according to the package instructions. Apply the mixture to the strand and process for the recommended time, checking frequently.
Carefully observe the strand’s color development. This reveals the achievable lift and helps determine the appropriate processing time for your full application. The strand test also identifies any adverse reactions, like excessive breakage or scalp sensitivity, allowing you to adjust the formula or reconsider lightening altogether.
Choosing the Right Developer Volume
Selecting the correct developer volume is paramount for successful and safe lightening with Wella Powder Lightener. The developer’s strength dictates the lifting power and processing speed.
Generally, 20 volume developer is suitable for 1-2 levels of lift, ideal for subtle changes or toning. 30 volume lifts 2-3 levels and is commonly used for medium blonde shades. 40 volume provides the maximum lift of 3-4 levels, but carries a higher risk of damage and is best for darker hair.
Consider your hair’s current color, desired shade, and overall health. Damaged or fragile hair requires a lower volume developer to prevent further breakage. Always prioritize hair integrity and err on the side of caution when choosing developer strength.
Gathering Necessary Tools & Protective Gear

Prior preparation is key for a smooth and safe lightening process with Wella Powder Lightener. Assemble all necessary tools before you begin to ensure efficiency.
You’ll need a non-metallic mixing bowl and applicator brush, gloves to protect your skin, and old towels to shield your clothing. Sectioning clips are essential for organized application. A timer is crucial for accurate processing.
Safety first! Wear eye protection to prevent irritation. Ensure adequate ventilation in your workspace. Have a clarifying shampoo and deep conditioner on hand for post-lightening care. Protecting your work surface is also recommended to avoid staining.

Mixing Wella Powder Lightener
Proper mixing is vital for optimal performance. Combine Wella Powder Lightener with the appropriate developer volume in a non-metallic bowl for best results.
Correct Mixing Ratio (Lightener to Developer)
Achieving the correct consistency begins with precise measurements. Generally, a 1:2 ratio of Wella Powder Lightener to developer is recommended as a starting point for most applications.
This translates to one part lightener powder combined with two parts developer. For example, if you use 30 grams of lightener, you’ll need 60 grams of developer. However, adjust this ratio based on the desired consistency and the level of lift you intend to achieve.
For a thicker mixture, ideal for on-scalp applications to minimize slippage, use slightly less developer. Conversely, a more fluid consistency, preferred for highlights or balayage, can be attained by adding a touch more developer. Always refer to the product packaging for specific guidance and consider your hair’s texture and density when determining the ideal ratio.
Achieving the Ideal Consistency
The ideal consistency of Wella Powder Lightener resembles a creamy, smooth paste – similar to yogurt or cake frosting. It should be thick enough to adhere to the hair without dripping excessively, yet pliable enough for even distribution.
Proper mixing is crucial; avoid lumps by gradually adding the developer to the powder while stirring continuously. A consistent texture ensures uniform lifting and prevents patchy results. If the mixture is too thick, add a small amount of developer, a few drops at a time, until the desired consistency is reached.
Conversely, if it’s too runny, carefully incorporate a bit more lightener powder. Remember, the consistency impacts application and processing, so take the time to get it just right for optimal results.
Importance of Non-Metallic Bowls and Applicators
Utilizing non-metallic bowls and applicators is absolutely critical when working with Wella Powder Lightener. Metal can react with the lightener’s ingredients, causing a chemical reaction that compromises the product’s effectiveness and potentially alters the final color outcome.
Opt for plastic or glass bowls and brushes specifically designed for hair coloring. These materials remain inert, ensuring the lightener maintains its intended potency. Using metallic tools can also lead to uneven lifting or even damage to the hair.
Always double-check your tools before mixing to avoid any unwanted chemical interactions. Protecting your hair and achieving predictable results hinges on this simple, yet vital, precaution.
Application Techniques
Wella Powder Lightener is adaptable for on-scalp color and off-scalp techniques like highlights or balayage, offering versatility for various lightening goals and styles.
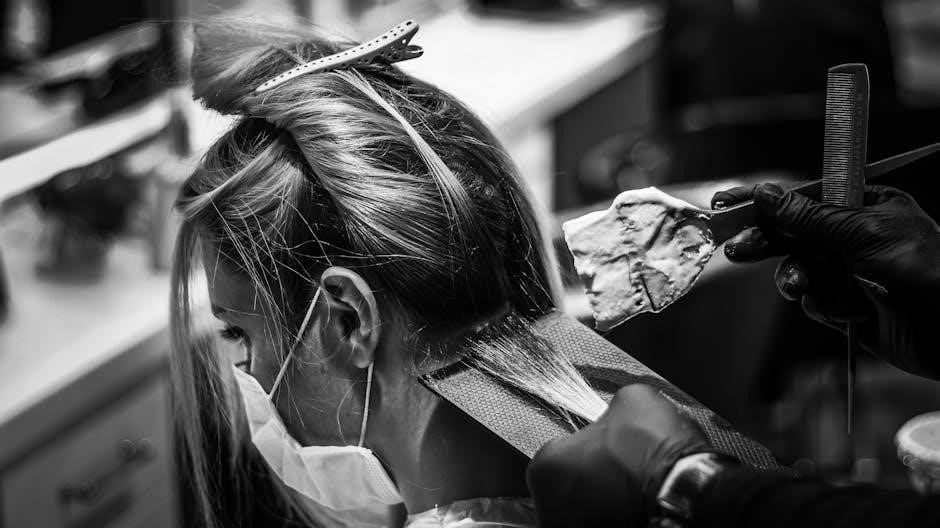
On-Scalp Application Guidelines
For full head lightening, or root touch-ups, precise application is crucial. Begin by sectioning the hair into manageable quadrants for even saturation. Apply the Wella Powder Lightener mixture swiftly and consistently, starting approximately 1/2 inch away from the scalp to avoid excessive heat buildup.
Work quickly, ensuring every strand is coated, then return to the roots for the final application. Maintain a consistent thickness of product throughout the hair. Avoid overlapping previously lightened areas to prevent breakage. Regularly monitor the lifting process, checking for desired lightness and strand integrity. Remember, controlled lightening action is key to healthy, beautiful results, as emphasized by Sally Beauty.
Always prioritize scalp health and minimize discomfort during on-scalp applications.
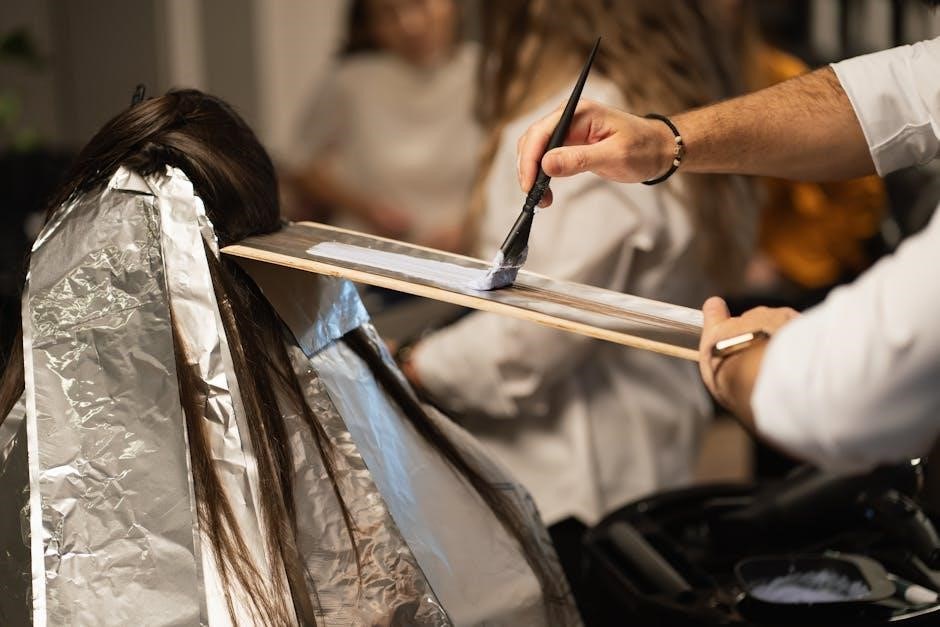
Off-Scalp Application (for highlights/balayage)
When creating highlights or balayage, Wella Powder Lightener offers exceptional control and versatility. Section the hair strategically, isolating the strands intended for lightening. Apply the mixture using a brush or specialized highlighting tools, ensuring precise placement and avoiding saturation of the surrounding hair.
For balayage, feather the lightener upwards, creating a seamless transition from root to tip. With highlights, utilize foil or plastic wrap to isolate the lightened sections and prevent bleeding. Regularly check the development, as off-scalp applications tend to process faster due to heat from the scalp.
Sally Beauty highlights the product’s suitability for these techniques, emphasizing its controlled action. Achieve dimensional color with confidence and minimize damage.
Sectioning Hair for Even Application
Proper hair sectioning is crucial for achieving uniform lightening results with Wella Powder Lightener. Begin by dividing the hair into manageable sections – typically four quadrants – using clips to maintain separation. The size of the sections will depend on the desired technique, whether it’s a full head application, highlights, or balayage.
For consistent lift, ensure each section is of equal thickness. Subdivide further as needed, especially when targeting specific strands or creating intricate designs. Precise sectioning prevents overlapping, which can lead to uneven color and potential damage.
Maintain clean lines between sections to avoid color bleeding. This meticulous approach, combined with Wella’s reliable formula, guarantees predictable and beautiful results.
Processing and Monitoring
Careful monitoring during processing is vital. Regularly check the hair’s lift, adhering to recommended times, and visually assessing for desired results and potential damage.
Recommended Processing Times
Determining the correct processing time is crucial for achieving optimal lift while minimizing damage. Wella Powder Lightener’s processing time varies based on several factors, including the developer volume used, the hair’s initial color, and the desired level of lift.
Generally, processing times range from 20 to 45 minutes. Always begin checking the hair’s progress after 20 minutes, and continue monitoring every 5-10 minutes thereafter. For more resistant hair or when using a lower volume developer, processing may require up to 45 minutes.
Never exceed the maximum recommended processing time of 45 minutes, as this can lead to excessive damage and breakage. Consistent visual checks are paramount to prevent over-processing and maintain hair integrity. Remember to refer to the Wella Color Charm guidelines for specific recommendations.
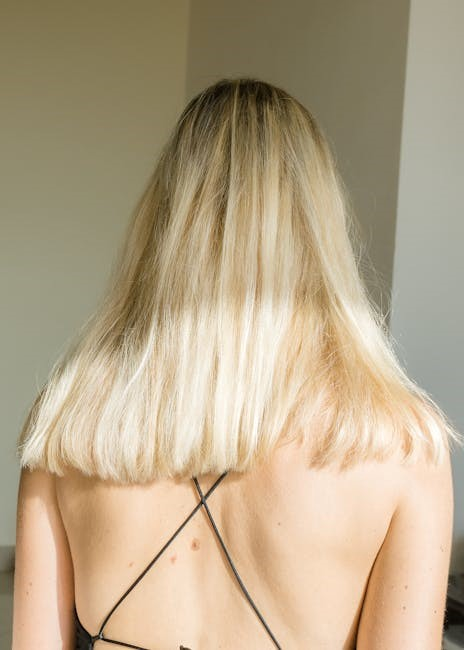
Visual Cues for Determining Processing Completion
Accurately assessing when the lightening process is complete relies on observing key visual indicators. Don’t rely solely on time; consistently check the hair’s color development. The desired level of lift is achieved when the hair reaches a pale yellow hue, typically resembling the inside of a banana peel.
Pay close attention to the hair’s elasticity. Gently stretch a small strand; if it retains its shape without breaking, processing may be nearing completion. However, if it snaps easily, immediately rinse the lightener to prevent further damage.
Observe the overall color uniformity. Ensure the lifted color is consistent throughout the treated sections. Discontinue processing once the desired lightness is attained, prioritizing hair health over pushing for maximum lift.
Avoiding Over-Processing and Damage
Over-processing is a significant concern when lightening hair, leading to breakage and compromised hair health. Adhering to recommended processing times and diligently monitoring the hair’s condition are crucial preventative measures.
Regularly check hair elasticity during processing. If the hair feels gummy or exhibits excessive stretching without returning to its original shape, it’s a clear sign of damage and requires immediate rinsing.
Never exceed the maximum recommended processing time, even if the desired lift hasn’t been fully achieved. Multiple, gentler lightening sessions are preferable to a single, aggressive one. Prioritize hair integrity and consider using a protein-rich treatment post-lightening to restore strength.
Rinsing and Aftercare
Thoroughly rinse the lightener from the hair, followed by a toning shampoo to neutralize unwanted brassiness, and finish with a deep conditioning treatment.
Thoroughly Rinsing the Lightener
Rinsing is a crucial step following the processing of Wella Powder Lightener, directly impacting the health and final tone of your hair. Begin with lukewarm water, gently emulsifying the lightener as you rinse to avoid unnecessary friction and potential damage.
Continue rinsing until the water runs completely clear, ensuring no residual lightener remains. Any leftover product can cause continued processing, leading to breakage or uneven color. This may take several minutes, depending on the amount of lightener used and hair density.
Pay close attention to the scalp, meticulously removing all traces of the product. A magnifying glass can be helpful to verify complete removal. Following a thorough rinse, proceed immediately to toning and deep conditioning.
Using a Toning Shampoo
After thoroughly rinsing the lightener, a toning shampoo is essential to neutralize unwanted brassy or yellow tones revealed during the lightening process. Wella Color Charm offers a range of toners designed to complement their lightener, providing predictable and beautiful results.
Select a toner shade based on your desired final color – violet-based toners counteract yellow, while blue-based toners neutralize orange. Apply the toning shampoo to damp hair, following the manufacturer’s instructions for processing time, typically 10-20 minutes.
Monitor the hair closely during toning, checking for the desired level of neutralization. Rinse thoroughly and follow with a deep conditioning treatment to restore moisture and enhance shine.
Deep Conditioning Treatment Post-Lightening
Lightening significantly alters the hair’s structure, making deep conditioning crucial for restoring moisture, elasticity, and overall health. Following the toning process, apply a generous amount of a high-quality deep conditioner, focusing on the mid-lengths and ends where damage is most prevalent.
Look for products containing nourishing ingredients like argan oil, shea butter, or keratin. For enhanced penetration, consider using a heat cap or wrapping the hair in a warm towel during the processing time – typically 20-30 minutes.
Rinse thoroughly with cool water to seal the cuticle and lock in moisture. Regular deep conditioning treatments are vital for maintaining the integrity of lightened hair and preventing breakage.